
The Crown Procedure: Clinical Steps from Anesthesia Through Placement in Kensington
Step-by-step clinical procedure for dental crown placement: preparation, impression, fabrication, delivery. What actually happens during crown treatment.
Dental crown treatment involves three primary clinical appointments: the diagnostic consultation, the tooth preparation appointment, and the delivery appointment. Understanding what occurs at each stage clarifies the procedure and helps patients know what to expect.
Pre-Treatment Consultation
The consultation begins with case assessment. Dr. Marlin examines the tooth requiring restoration, assesses the fracture pattern or decay location, and evaluates remaining tooth structure. Radiographs (X-rays) are taken to assess the tooth’s internal structure and determine whether root canal treatment is necessary.
Dr. Marlin discusses whether a crown is necessary or whether conservative restoration (filling) is possible. If a crown is indicated, the procedure is explained and the patient’s concerns are addressed. Material options are discussed based on the tooth location and the patient’s aesthetic priorities. The patient consents to treatment and scheduling occurs.
Preparation Appointment: Step-by-Step
Local Anesthesia Administration
The preparation appointment begins with anesthesia. Dr. Marlin injects local anesthetic near the tooth to be prepared. The anesthetic blocks pain sensation from the tooth and surrounding tissues. The patient remains conscious but experiences minimal discomfort during the procedure.
Tooth Preparation
Once anesthesia is confirmed effective, tooth preparation begins. Dr. Marlin uses precision dental handpieces (drills) to carefully remove damaged tooth structure and shape the remaining tooth to receive the crown.
The preparation removes approximately 1 to 2 millimeters of tooth structure from all surfaces—occlusal (biting surface), facial (visible surface), and lingual (tongue-side surface). This minimal reduction creates space for the crown while preserving as much healthy tooth as possible.
The prepared tooth is shaped to create an even taper—slightly wider at the gumline than at the tip. This shape provides mechanical retention for the crown. Sharp angles are rounded to eliminate stress concentrations where the crown would contact the prepared tooth.
Margins are refined at or slightly below the gumline. Supragingival margins (above the gumline) are acceptable on back teeth but typically placed subgingivally (below the gumline) on visible teeth for esthetic reasons. The margin must be well-defined and smooth to enable accurate impression capture.
Moisture Control
Throughout preparation, the tooth and surrounding field are kept dry using high-volume suction and retraction. Moisture control ensures clear visualization of the prepared tooth and allows precise impressioning.
Impressioning
Once preparation is complete, an impression is taken. The impression material captures the exact three-dimensional form of the prepared tooth, including all surface details and margins. Traditional impression material is injected around the tooth and allowed to set, creating a physical replica. Alternatively, digital scanning captures the tooth’s geometry without impression material.
The impression is the blueprint for the crown’s internal fit surface. Imprecise impressioning leads to poor crown fit. Precise impressioning is essential.
Temporary Crown Fabrication
The temporary crown is fabricated while the permanent crown is being made. Temporary crowns are typically formed from pre-shaped clear acrylic shells selected to approximate the prepared tooth’s size and shape. The temporary shell is trimmed to fit the prepared tooth and the patient’s bite. A temporary cement is used to adhere the temporary crown to the prepared tooth.
The temporary crown serves three purposes: (1) protection of the prepared tooth from thermal and bacterial insult, (2) maintenance of function—the patient can chew and eat while wearing the temporary crown, and (3) esthetic continuity—the temporary crown maintains appearance while the permanent crown is fabricated.
Patient Instructions
Before dismissal, the patient receives instructions about temporary crown care. The temporary crown might feel loose or bulky initially—this is normal. The patient should avoid sticky foods that might dislodge the temporary crown. Hard foods should be avoided. Normal brushing and flossing are acceptable; flossing should be done gently around the temporary crown.
The patient is advised that the bite might feel slightly off and that sensitivity to temperature is normal. Over-the-counter analgesics (pain relief) can be used if soreness develops.
Fabrication Phase: Laboratory Process
During the 1 to 3 weeks following preparation, the permanent crown is fabricated. The impression or digital scan is used to create the crown’s internal fit surface. This surface must match the prepared tooth precisely—any gap leads to microleakage, decay, and eventual failure.
The crown’s external form is shaped to mirror the patient’s original tooth anatomy. If the patient’s original tooth had particular characteristics—a slight slope or specific contour—these details are replicated in the crown. This anatomical replication is what makes crowns look natural rather than generic.
Shade selection occurs under calibrated lighting. The ceramic material is selected and pigmented to match the patient’s natural tooth color and translucency. Layering techniques are used to replicate the color gradations of natural teeth, with slightly lighter shades at the cervical (neck) area and potentially slightly darker shades at the incisal or cuspal (biting) edges.
The external surface is glazed—a thin glass layer is applied and fused to the ceramic to create a smooth, stain-resistant finish that mimics natural enamel.
Quality control occurs throughout. Dr. Marlin may review the crown during fabrication and request refinements. The ceramist works directly with Dr. Marlin, enabling collaboration impossible with external laboratories.
Delivery Appointment: Step-by-Step
Temporary Crown Removal
The delivery appointment begins with removal of the temporary crown. The temporary cement is broken using hand instruments or ultrasonic vibration. The temporary crown is carefully lifted away from the prepared tooth. The remaining temporary cement is thoroughly cleaned from the prepared tooth.
Tooth Inspection
The prepared tooth is visually inspected for any caries (decay) or changes since preparation. If decay is detected, it must be removed before the permanent crown can be placed. The tooth is dried to allow complete visualization of all surfaces.
Passive Seating
The permanent crown is seated onto the prepared tooth without cement. This allows verification that the crown’s internal fit is perfect and that the margins are completely sealed. If the crown does not seat completely or if margins appear to have gaps, the issue is identified before permanent cementation.
Bite Verification
The patient bites together in maximum intercuspation (maximum bite contact). Articulating paper is placed between the teeth to mark the contact points. The crown’s contact with opposing teeth is evaluated.
High spots (contacts that are too heavy) are identified and selectively ground away. The crown’s occlusal surface (biting surface) is adjusted to create even contact with opposing teeth across all surfaces. The bite is checked multiple times until balanced.
Margin Evaluation
The crown margins are inspected visually and tactilely. Dr. Marlin runs an explorer (a thin metal probe) along the margin, feeling for any ledge or gap. Any margin discrepancy is identified and, if significant, the crown is removed and sent back to the laboratory for refinement.
Radiographs are taken to verify margins are at or subgingivally positioned and that no excess shows radiographically.
Final Seating and Cementation
Once all verifications are complete, the crown is removed and the prepared tooth is thoroughly cleaned. An adhesive resin cement is selected and applied to the internal surface of the crown. The crown is seated and held under light pressure while the cement sets chemically.
Once set, excess cement is carefully removed from all margins and subgingivally using hand instruments and ultrasonic vibration. Cement left in place would cause gingival inflammation and eventual decay.
Post-Placement Instruction
The patient is instructed on care. The bite might feel slightly different for a few days—this is normal and adjusts quickly. Sensitivity to temperature is expected and fades within 1 to 2 weeks. The patient can resume normal eating immediately but should be gentle on the crown for the first few days while the cement fully sets.
Flossing should be resumed gently. The patient is instructed to schedule a checkup approximately one week after placement to verify everything remains stable.
Quality Assessment and Follow-Up
At the one-week follow-up, the crown is evaluated. Bite is rechecked. Gingival (gum) response is assessed. Any adjustments needed are made. Most crowns require no additional adjustment after delivery.
Regular dental checkups every 6 months include crown evaluation. Margins are inspected. Radiographs confirm no decay has started. The gum around the crown is evaluated for health. This preventive monitoring ensures early detection of any issues.
Getting Here from Kensington
From Kensington, drive south on Connecticut Avenue toward Friendship Heights. Elite Prosthetic Dentistry is located at 4400 Jenifer Street NW, Suite 220, Washington DC 20015, approximately 15 minutes away. Free parking is available in the building.
Schedule Your Crown Treatment
If a crown is needed, schedule a consultation with Dr. Marlin to assess the tooth and discuss treatment planning.
For related care, see our pages on full mouth reconstruction and Dental Crowns in Chevy Chase.
Frequently Asked Questions
How long is the preparation appointment?
The preparation appointment typically lasts 60 to 90 minutes. This includes anesthesia administration, tooth preparation, impressioning, temporary crown fabrication, and patient instruction. The actual tooth preparation occupies 30 to 45 minutes of this time.
What anesthetic is used during preparation?
Local anesthesia is administered via injection before tooth preparation begins. The anesthetic blocks pain sensation from the prepared tooth and surrounding tissues. Patients remain conscious and aware throughout the appointment but do not experience pain.
How much tooth structure is removed during preparation?
Tooth removal is minimal—typically 1 to 2 millimeters of tooth structure is removed to create space for the crown restoration. This slight reduction is necessary to allow the crown to fit properly over the prepared tooth without appearing over-contoured or bulky.
What does the impression capture?
The impression material captures the exact dimensions and contours of the prepared tooth, creating a three-dimensional replica. This replica guides the crown's internal form, ensuring the crown fits the prepared tooth precisely. Modern digital scanning can supplement traditional impressions.
Why is a temporary crown necessary?
The temporary crown protects the prepared tooth during the 1-3 week fabrication period. The exposed dentin and underlying tooth structure would be sensitive and vulnerable to bacteria without protection. The temporary crown maintains function and appearance while the permanent crown is fabricated.
How is the permanent crown fabricated?
The impression or digital scan guides the crown's design. The internal fit surface is milled or pressed to match the prepared tooth precisely. The external form is shaped to mirror the patient's original tooth contours. The surface is then shaded and glazed to match adjacent natural teeth.
What is the delivery appointment sequence?
The temporary crown is removed. The prepared tooth is cleaned and inspected. The permanent crown is seated without cement first, confirming fit and margins are perfect. The patient's bite is checked. Once confirmed, the crown is cemented permanently in place.
How is the patient's bite checked and adjusted?
The patient bites together on articulating paper or foil. This marks where the crown contacts opposing teeth. High spots are identified and selectively ground away to balance the bite. This procedure is repeated until the bite is evenly distributed across all tooth surfaces.
How is the crown margin verified?
Dr. Marlin uses visual inspection and tactile verification—running an explorer along the crown margin to confirm no ledge or gap exists between the crown and prepared tooth. X-rays are taken to verify the margin sits at or below the gumline. The margin must be precise to prevent marginal decay.
Why is preparation quality critical?
A precisely prepared tooth creates a foundation for perfect crown fit. Imprecise preparation creates gaps between the crown and tooth, allowing cement dissolution and microleakage. This leads to decay and eventual crown failure. Precise preparation is the foundation of long-term crown success.
What is the cementing material?
Resin cement is most common, creating an adhesive bond between the crown and prepared tooth. The cement forms a seal preventing bacterial infiltration. The cement must be fully removed from margins after placement, as excess cement causes inflammation and decay.
Related Patient Success Stories
Explore similar patient success stories demonstrating our expertise in advanced prosthetic dentistry.

Temporary Crowns Restore Patient's Smile in Just One Day with an Immediate Smile Makeover
A patient from Potomac, Maryland, came to Elite Prosthetic Dentistry with the chief complaint of pain from a failing dental implant and its significant impact on her appearance.
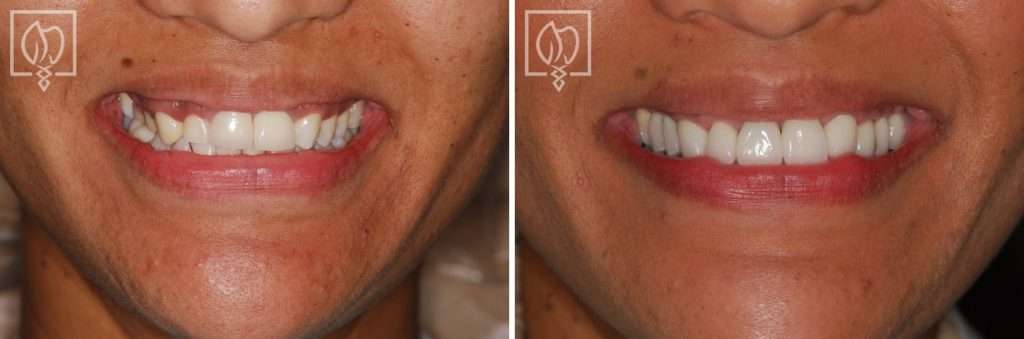
Multi-Faceted Treatment for Patient Unhappy With Her Artificial-Looking Crowns, Teeth and Gums
Many patients come to Elite Prosthetic Dentistry unhappy with the appearance of their smile. However, this particular patient presented with multiple interconnected problems that together created a smile she found deeply unsatisfying.

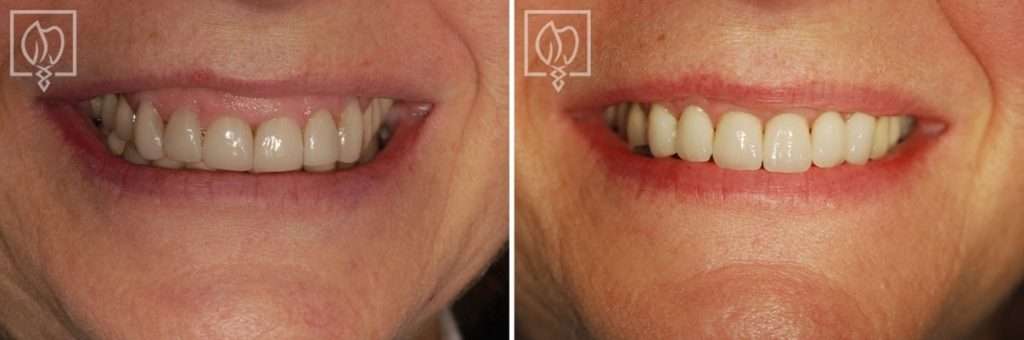
Salvaging Ms. N’s Severely Broken-Down Upper and Lower Teeth from Gum and Bone Disease
Many people in the U.S. suffer from extensive periodontal disease characterized by significant bone loss and shrinkage of the gum tissue. This condition can begin at a very young age and worsen quickly due to hereditary factors and lack of early diagnosis by their dentist.
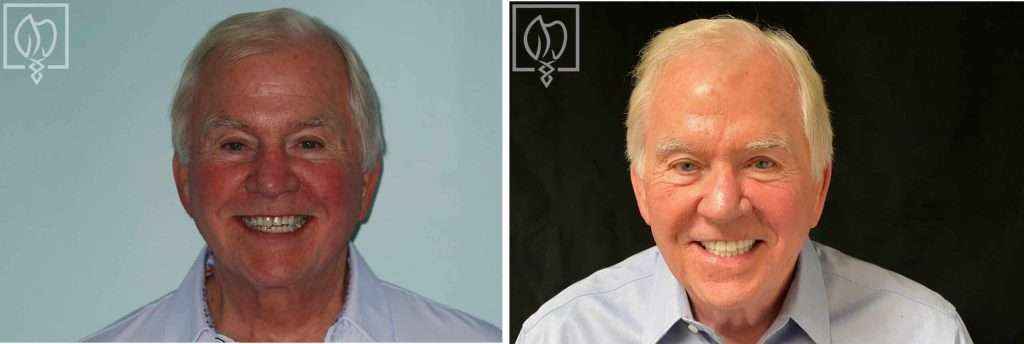
A Smile Transformation in Just Four Months: A Patient’s Dental Crown Restoration for a TV Series
A patient with dental crowns that were in poor shape was going to appear on a streaming video series on a major TV network that was scheduled to begin filming soon. Our patient, John, an author about to embark on a book tour, was anxious as his teeth were not up to his standards to appear on television.
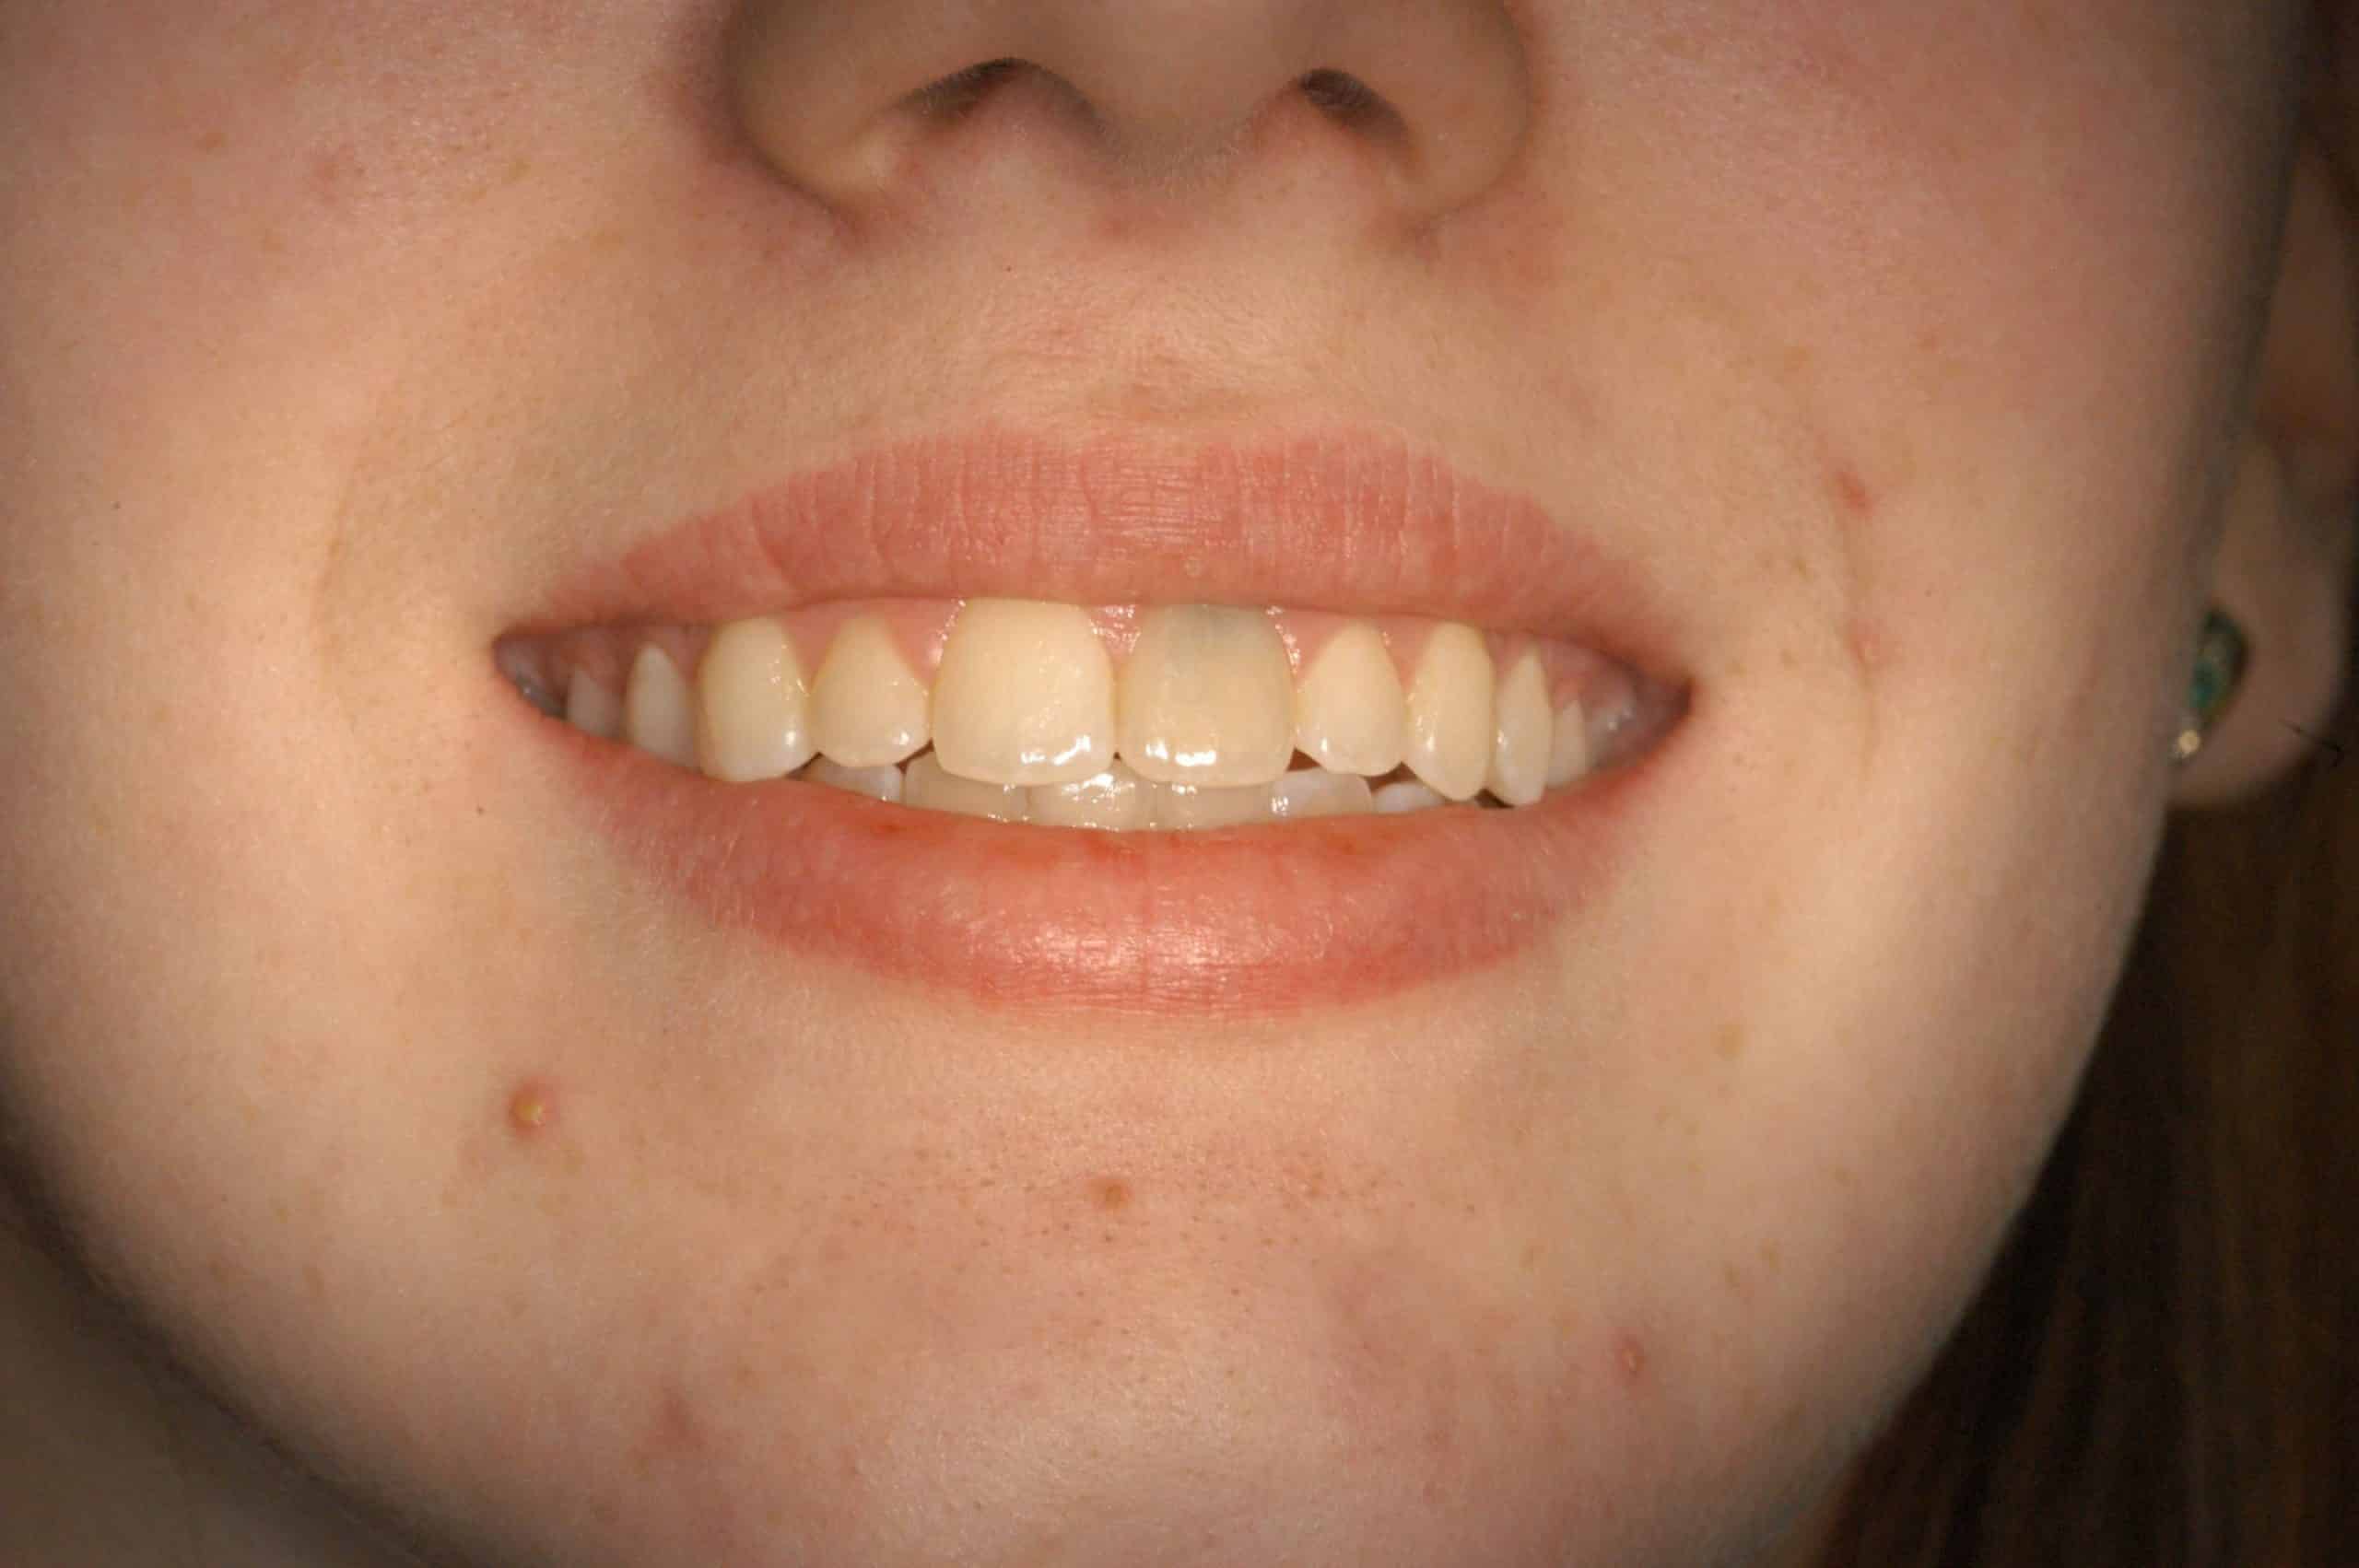
Replacing a Discolored Front Tooth with a Precision Placed Implant
Some of the most challenging restorations occur when fabricating an anterior crown to fit on an implant. Not only does one have the difficulty of matching the single front tooth to the other ones in the high visibility zone, but the dentist must also ensure the position of the underlying implant is precise through accurate preplanning and placement.
Patient Was Dissatisfied With Her 'Gummy' Smile
Excessive gingival tissue, commonly referred to as a "gummy smile," can significantly impact the appearance of a person's smile and their self-confidence. When someone smiles and a large amount of gum tissue is visible above the teeth, it can create the perception that the teeth are too small or short, even when they are actually normal size.
Our Services in Kensington
Beyond Dental Crowns, Kensington patients rely on Dr. Marlin for a full range of advanced dental care.
More services available in Kensington:
Dental Crowns Near Kensington
Dr. Marlin also provides dental crowns services for patients in these neighboring communities.
Getting Here from Kensington
Elite Prosthetic Dentistry is conveniently located near Kensington, MD.
Drive south on Connecticut Avenue toward our Friendship Heights office on the DC-Maryland border. Free parking available.
Address:
4400 Jenifer Street NW, Suite 220
Washington, DC 20015
Phone: (202) 244-2101
Request a ConsultationRequest a Specialist Consultation from Kensington
Kensington residents come to Dr. Marlin for specialist prosthodontic care. With 3,900+ implants placed and restored over 40+ years, evaluation, planning, and execution are handled with the depth complex cases require.